Time for a change - ripping up the 3-Rail layout and moving over to 3-Rail and 2-Rail DCC.
The decision has been made and its time to rip up the 3-Rail Layout.
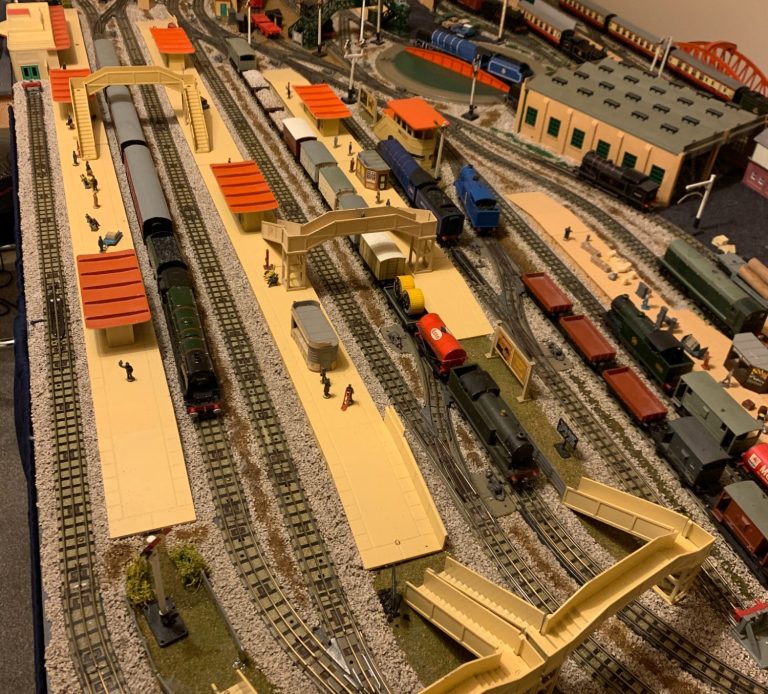
I finally decided to move with the times and make the move from 3-Rail Hornby Dublo to ... well its going to be a mixture of an outside loop and station of 3-Rail Dublo with the inner of the layout as Hornby 2-Rail DCC. It was a heart wrenching decision to rip up the 3 rail layout but I thought it had become more of a static display rather than a well used and functional layout.
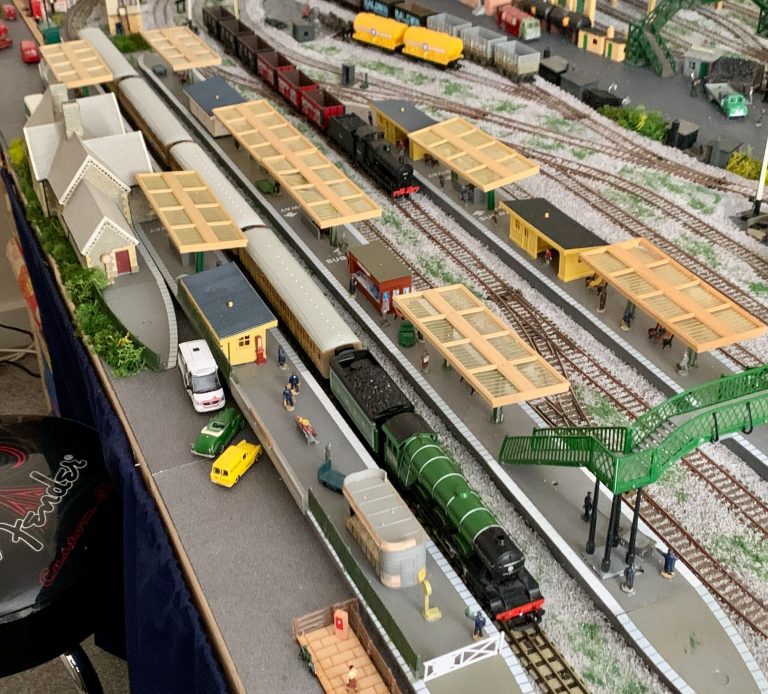
So here is a progress report of what satge we are at with the photo opposite how the layout looked running 3 rail Dublo.
Stage 1 - Getting up the track and buildings etc
Its much more fun putting things on to a layout as opposed to stripping things off it...
The first job was to remove all of the buildings, stations, bridges, and everything else that could be easily taken up. The outer 3 rail circuit will be relayed and used just as a single track other than in the station. Having said that I will this time be putting down cork underlay beneath the track throughout the layout to cut down on some of the noise. In all honesty this track removal was a nightmare especially trying to get up all of the ballast that had been well glued into place around all of the tracks. The taking out all of the electrics and packing everything away so much of it can be re-used on the new layout was a bit easier. Having said that it still took 2 days solid to get everything up and sorted ready for the arrival of the cork sheets.
The other ongoing task is trying to source the hornby 2 rail track that I am short of to complete the layout. Michael is once again designing my layout using SCARM which will also give me a full inventory of what total track is required and where it needs to be placed.

Two weeks in...
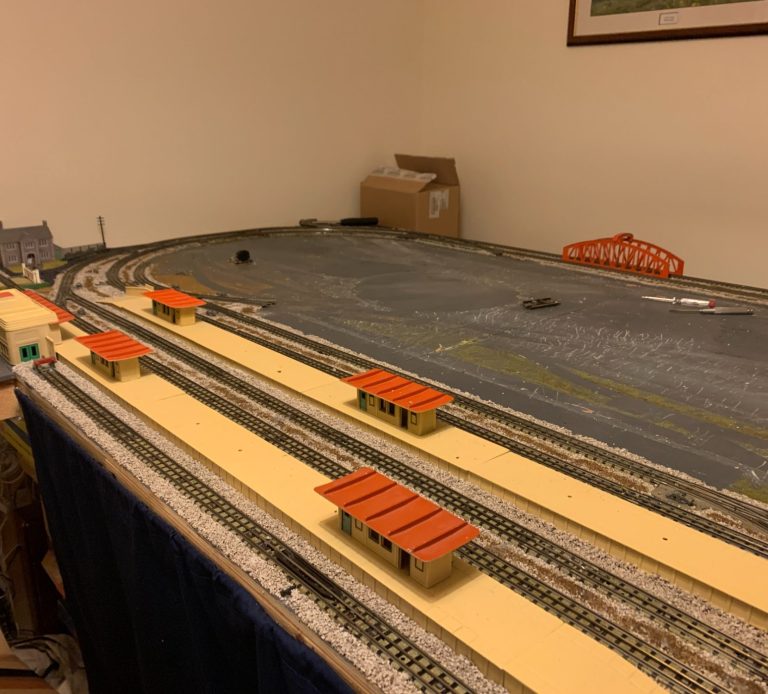
Laying the cork base and sourcing more track.
Well a large roll of cork underlay arrived together with two rolls of single track underlay ( that I may not even use now). The large sheet went down fairly well and now just needs tidying up in a number of places. I had been buying up bits of track from eBay and Marketplace to supplement the two rail track I already had. I was lucky to get a few good job lots that included some locos and buildings etc. So this weekend I have been placing track on the layout just to see what I still need to acquire and also to "tweak" how I see the layout developing. I was going ti have a DCC turntable but reading up on it the electrics are beyond my capabilities so that has been shelved and the space it would have taken up in being utilised with more landscaping this time. Similar to the original layout I still envisage having a coal yard, a goods shed ( possibly two), and a double engine shed and possibly a thirds engine shed elsewhare on the layout. But my ideas change day by day...
Well its currently come to a halt...
The track layout design is sorted, all track parts are either here or have been ordered... but !!!!
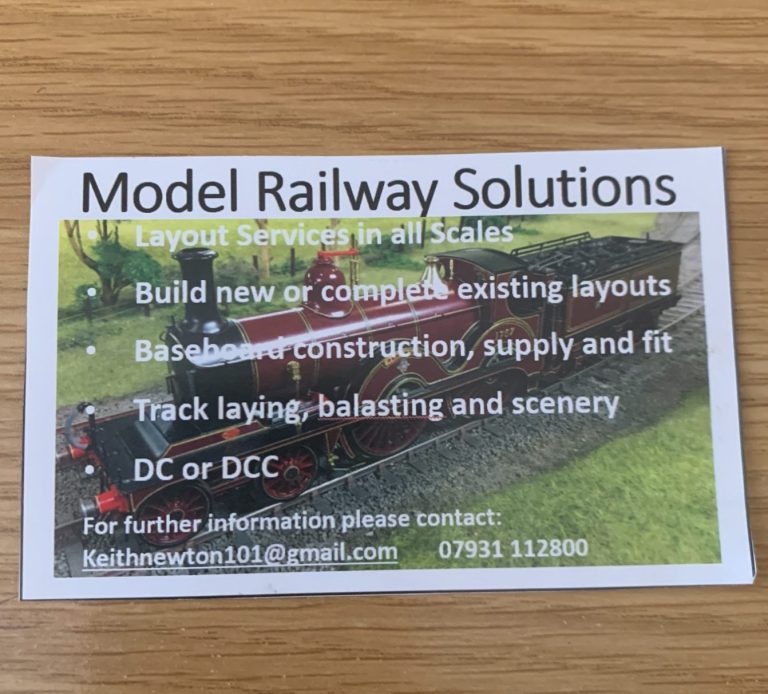
Well I thought that I understood how the DCC layouts work, and I thought the electrics would be fine to do - even for an electrical numpty like me. (After all I had done all of the electrics on the 3-Rail layout.) However thanks to google and youtube it seems its not quite as easy as I imagined. So I either have a go and possibly end up with a lot of work on something that doesnt run as I had hoped or ... I find a man that knows what he is doing who can do the electrics for me. Not sure if it was fate but on our doorstep landed a local magazine, and inside was an advertisement from a guy who is local and works on any scale/guage layout design and lists DC or DCC electrics work undertaken. A quick email and a meet up with Keith of Model Railway Solutions (who incidentally lives 1 minute walking from my house) and we now have a plan of action. Keith will be commencing this coming week and on the agenda is...
1) Check that the Peco PL1000 point motors operate the Hornby points (No reason to think they won't, but a test would be good to confirm all is ok before drilling the holes) - (Done and testing was successful)
2) Test out the uncoupler track sections you have, purchased (the newer type from Hornby) - these can be automatically raised and lowered with a point motor and would make operation of the layout more interesting.
3) Start to lay the track and lightly pin down. Install the points with the point motors as I go around the layout, also adding droppers as we discussed. Also adding the uncoupler sections you require.
4) When all the track is fixed down, cut the cork back with a 45 degree chamfer to allow ballasting. Then using Copydex, glue the sides of the cork bed down and finally hammer the track pins down to sleeper level.
5) Install a TrackBus under the board and attach all the droppers
6) Install the PAD units (count up the number required once the track plan is finalised), wire up the point motors and program
7) Add a small programming track to the layout, this will be switchable so that either the Programming track is live OR the main layout.
8) Program uncouplers and test
9) Ballast the track and test
Then hopefully it will be ready for an attempt at my landscaping, the layout and hopefully doing a better job than i did on the 3-rail layout. As Keith also specialises in landscaping... well lets think about that later on :)
Work gets underway again ...
All point motors have arrived - 16 peco twist lock motors, and hornby electric uncouplers 4 off have been received.
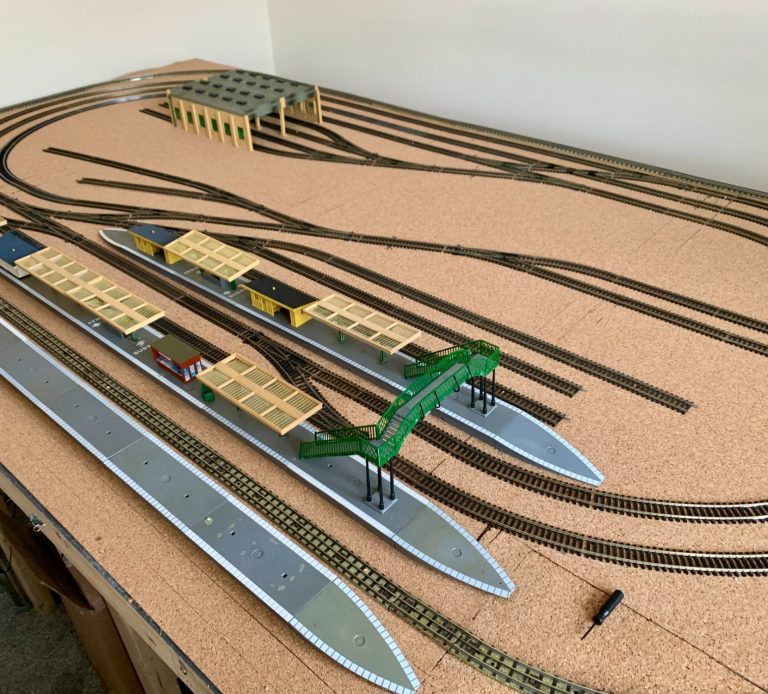
Keith has had three sessions here now and all the 16 points and their motors are now in place, all have been tested and are working and all two rail hornby track has been laid and now pinned down. Best decision I have made on this layout is getting Keith in to do the electrics. There is no way I would have been able to do this so hats off to Keith. Apart from anything else if I had got down on the floor under the baseboard there is no way I would have been able to get back up again.
With the great way its taking shape I decided to also rip up my 3-Rail outer circuit that I had intended to keep in situ, and today relaid down just a simple oval of 3 rail, mainly just to use as a test track for running the 3 rail I am keeping, and also so that the grandson still has somewhere to run his 3-rail Thomas the Tank engine. Im not sure hes ready for DCC yet - in fact Im not sure I am lol.
Next weeks jobs are to join all points decoders etc to the Bus Wire under the layout and then test some locos running round. Then following on the agenda for next week is starting to get the ballast down after the sleepers have been painted and the rails also painted and cleaned afterwards. Must admit Im getting impatient now to get on with running the locos and getting down to the landscaping... The platforms etc are not in situ yet but just placed back on the layout inbetween sessions to keep them safe.
The final stages...
Scenery is being placed on the layout now that all electrics and ballasting is complete...
Patience is not one of my virtues - and I was desperate to get the trains running around the layout. The electrics were completed with a superb job being done on the layout by Keith. It was an expecse that was essential as I would not have been able to get the DCC layout running myself.
Tha ballasting was a real nightmare, caused by my own errors but we learn by our mistakes. The whole layout was put on to a cork underlay. I had assumed that when the track was pinned down the cork would be a pretty tight fit so no need to glue the cork down. Big mistake. It was nice and tight BUT when you start putting the ballast in place and use the 50/50 wood glue and water mix it caused the cork to swell and bubble up. So to cut a long story short I had the take up all of the cork other than where it was seated on track by cutting it all out, including where i had already ballasted. In all I used 4 jars of ballast not including the two that I ordered by mistake in the wrong shade of grey - neat not blended.
But now the locos are running well, and the building are going on the layout. I like the Saledale buildings so more expense was incurred in purchasing from new, flea bay and marketplace an array of buildings.
The centre of the layout still needs work but I am pleased with the way its progressing. To see more images and some videos please check out my therailwayshed facebook page...
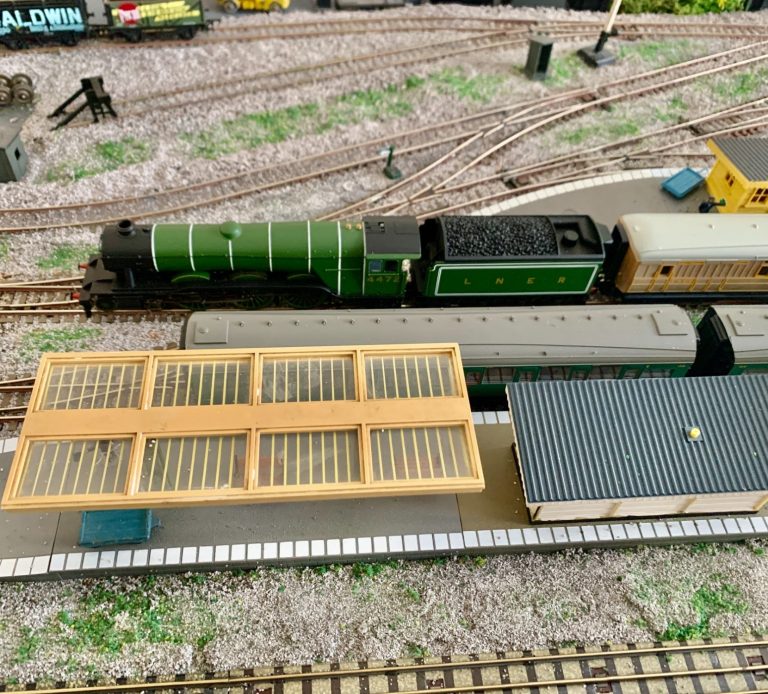
Running the DCC locos with sound.
Image shown is the Hornby Flying Scotsman
For a video of the Scotsman with sound running around the layout please click on the picture link to the left to take you to my FB page...
©Copyright The Railway Shed All rights and Images reserved.
We need your consent to load the translations
We use a third-party service to translate the website content that may collect data about your activity. Please review the details in the privacy policy and accept the service to view the translations.